Git wise!

Branching and teamwork

Overview

  1. Short recap
  2. Branches
  3. Remote repos

Short recap

  • What: It keeps track of the changes made to a file when you edit it.
  • When: It records the date and time when each change was made.
  • Who: It keeps a record of who made each change.
  • Why: It allows you to add a note explaining why you made a particular change.

What have we covered?

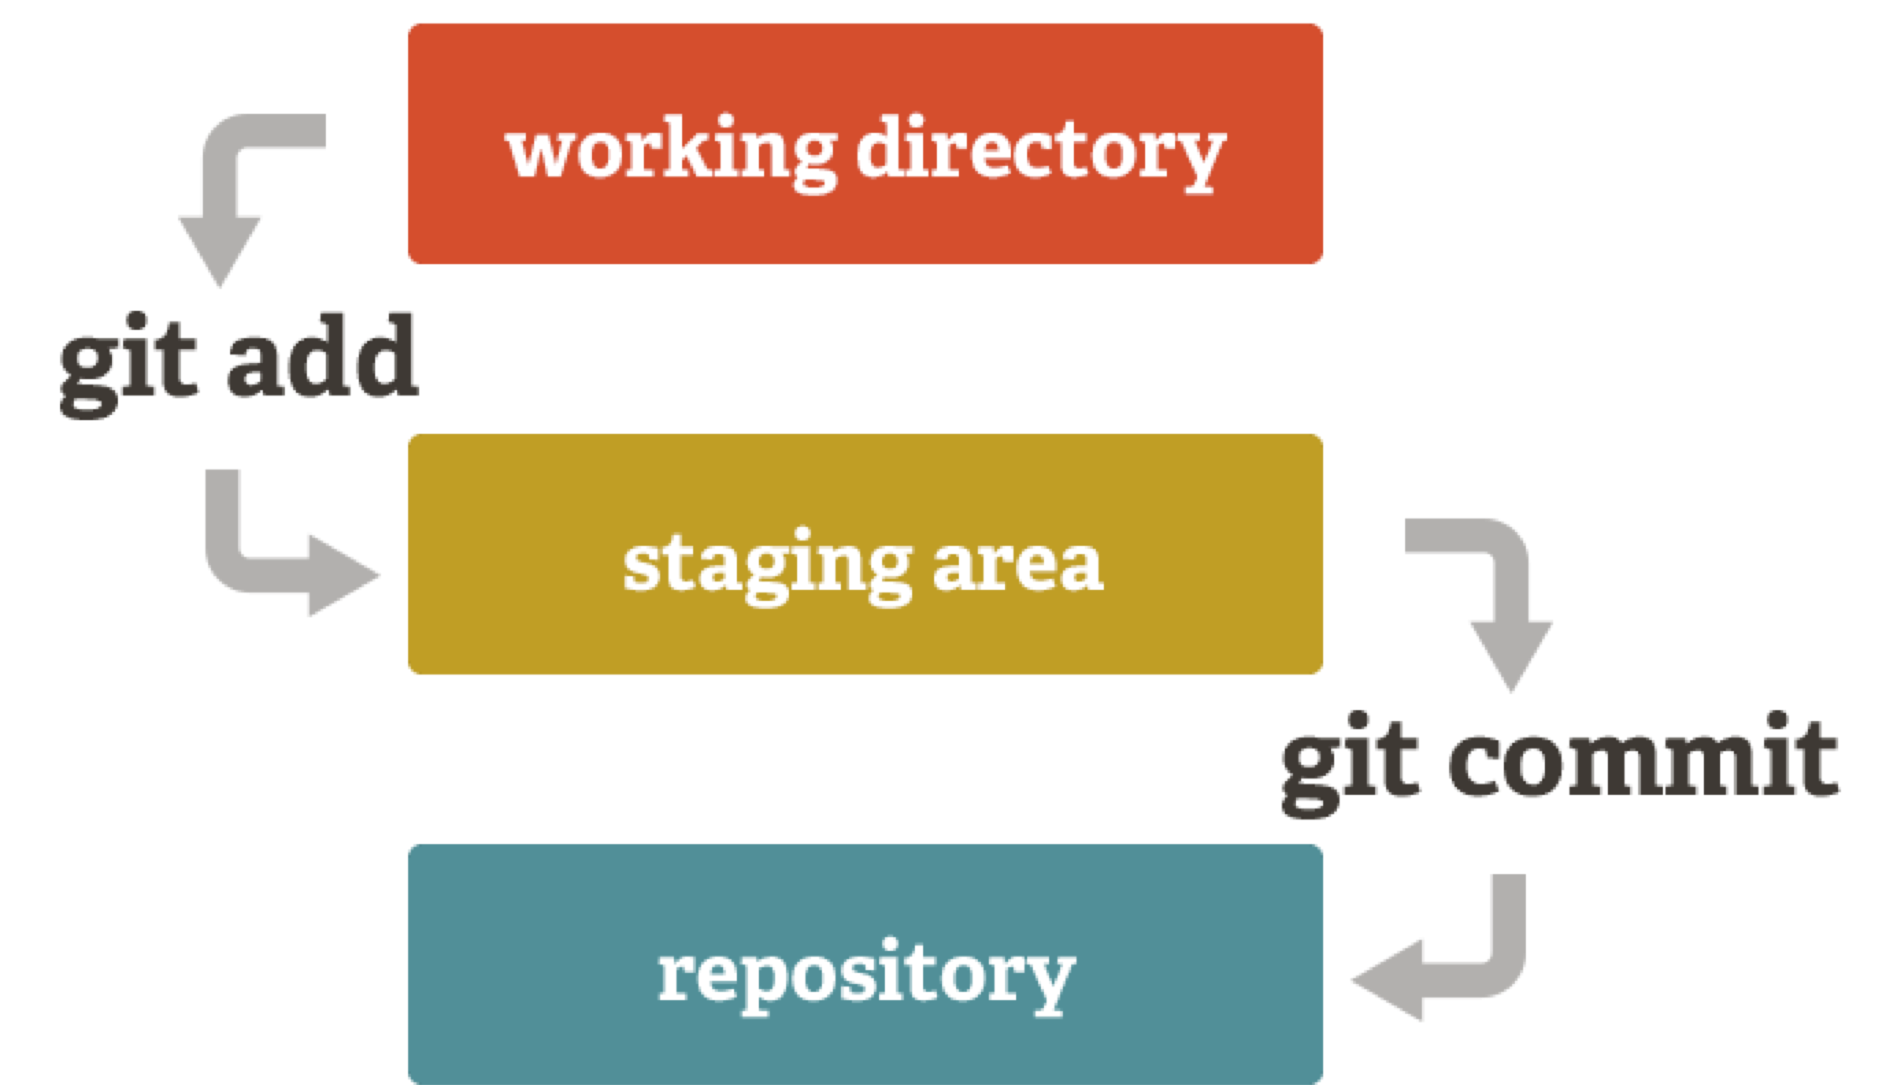
  1. How to setup Git
  2. How to move files to and from the staging area
  3. How to create commits
  4. How to create GOOD commits

Need to look back?

Branches: what and why?

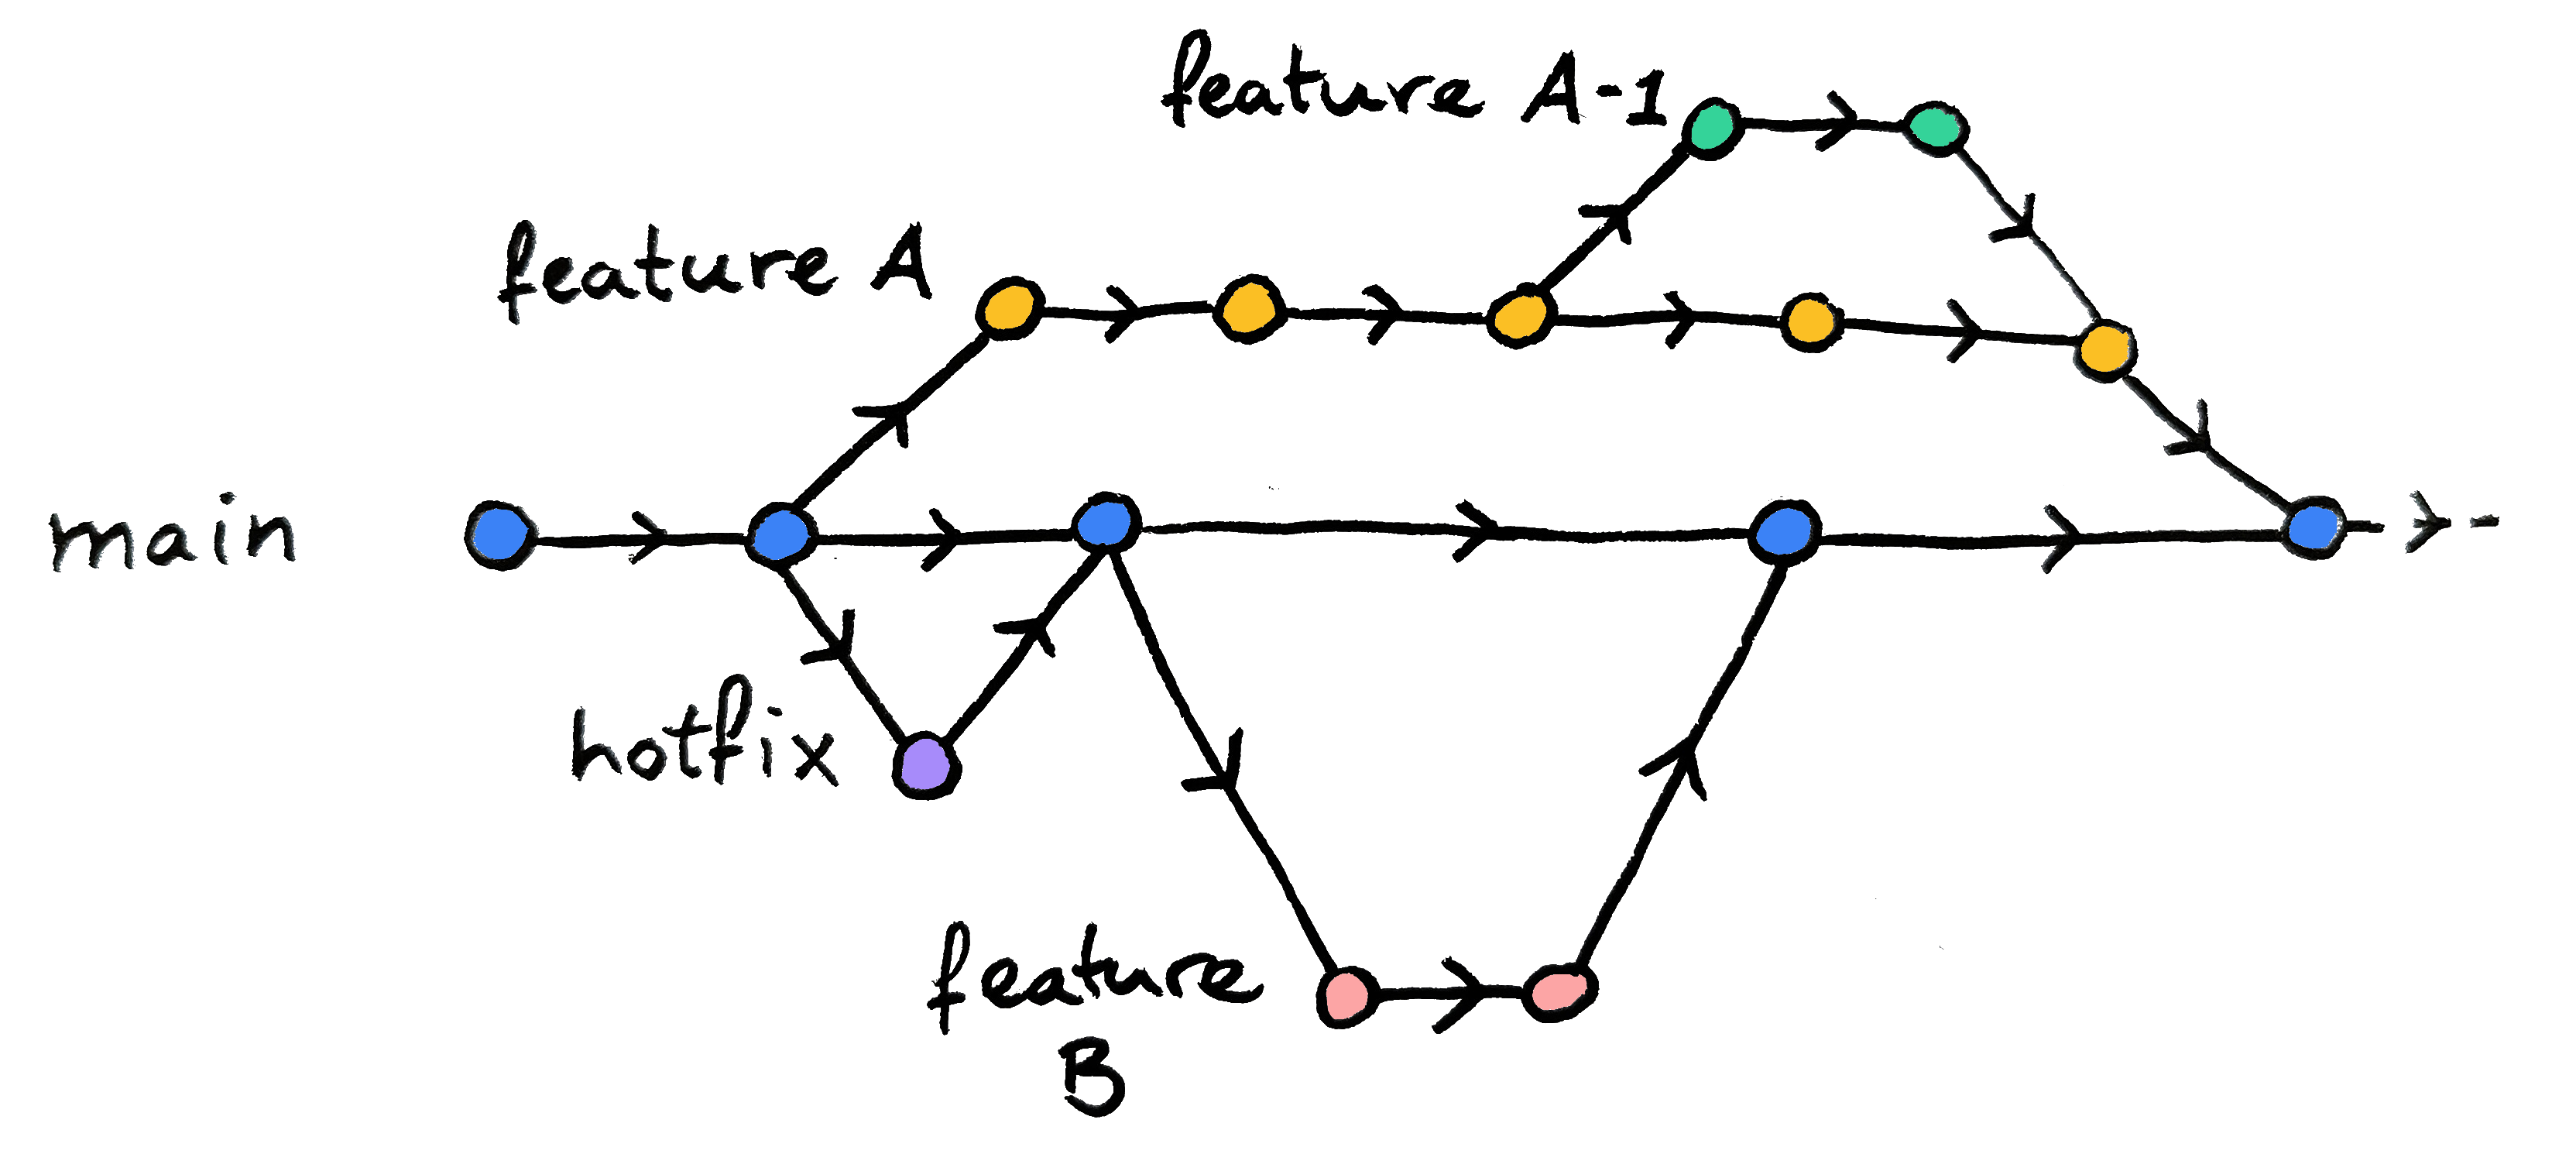
What are branches?

  • If you followed session 1 of this course, you’ve used only the main branch
  • Branching creates a copy of a project:
    • You can have as many branches as you want
    • You can branch off any branch you like
    • Each branch keeps own history of changes:
      • Allows making commits on that branch only
      • You can merge it with another branch, when satisfied

Why use branches? 1

  • To create a new feature without breaking existing functionality
    • Allows you to go back to original version to:
      • Compare output
      • Do quick bugfixes
      • Etc.
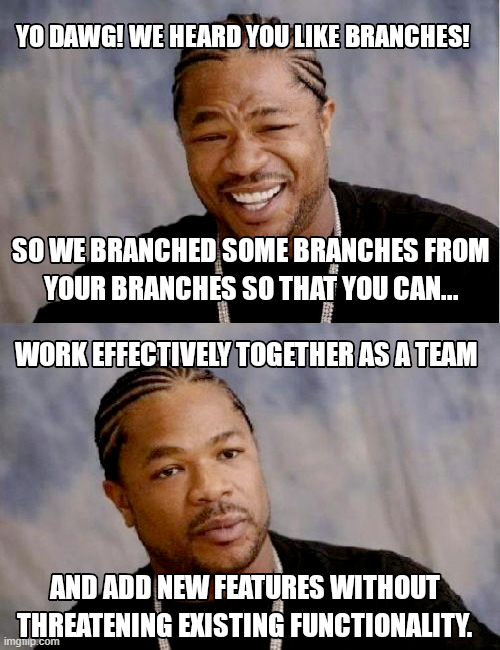
  • When collaborating, avoid getting in each other’s way
Why use branches? 2

  • Branches can be used:
    • To add new features
    • To do quick bugfixes/hotfixes
    • To simultaneously explore different parameters
    • As sandboxes to play around, i.e. test things
    • Etc.

Why use branches? 3


“Git makes it easy to switch between branches and handle conflicts when merging.

With branches, you can work independently and keep your code organized.”1

Branch creation and navigation

Basic branch commands

  • git branch --list lists all of your branches. * Indicates your current branch
    • git branch -l for short
      • git branch if you feel especially lazy/cool 😎
  • git branch new-branch-name creates a new branch with the name new-branch-name
  • git switch new-branch-name switches to branch named new-branch-name
    • git switch -c new-branch-name creates a new branch with name new-branch-name AND switches to it
    • git checkout new-branch-name does the same (switch is less ambiguous, checkout also has other uses)
      • git checkout -b new-branch-name same as git switch -c new-branch-name

Note: you cannot switch branches before making at least one commit on your current branch!

Exercise 1: creating branches

  1. Create a new folder (in you tmp directory for example)
  2. Create a git repo there
  3. Create a README.md and commit it
  4. Create new branch
  5. Switch to your new branch
  6. List your branches and marvel at the possibilities

Cleaning up your branches

  • Keep your branches clean
    • Delete branches you are done with
    • git branch -d branch-name
    • Check if it was deleted with git branch -l (or git branch --list in full)

Switching with uncommitted changes

  • You can switch branches with uncommitted changes if they do not conflict with target branch
    • Useful if you started working in the wrong branch
  • If they do conflict, Git will prevent you from switching!

  • Commit your changes before switching
  • Stash your changes (see this chapter in the Version Control Book)
  • Discard your changes
    • Use git reset for this

Merging branches

Merging branches: 1

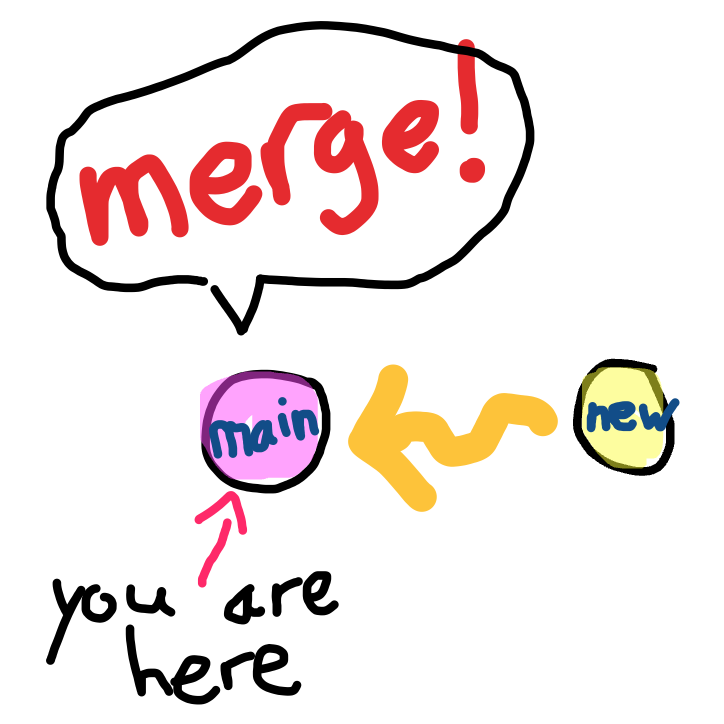
  • When work on your branch is ready: time to merge!
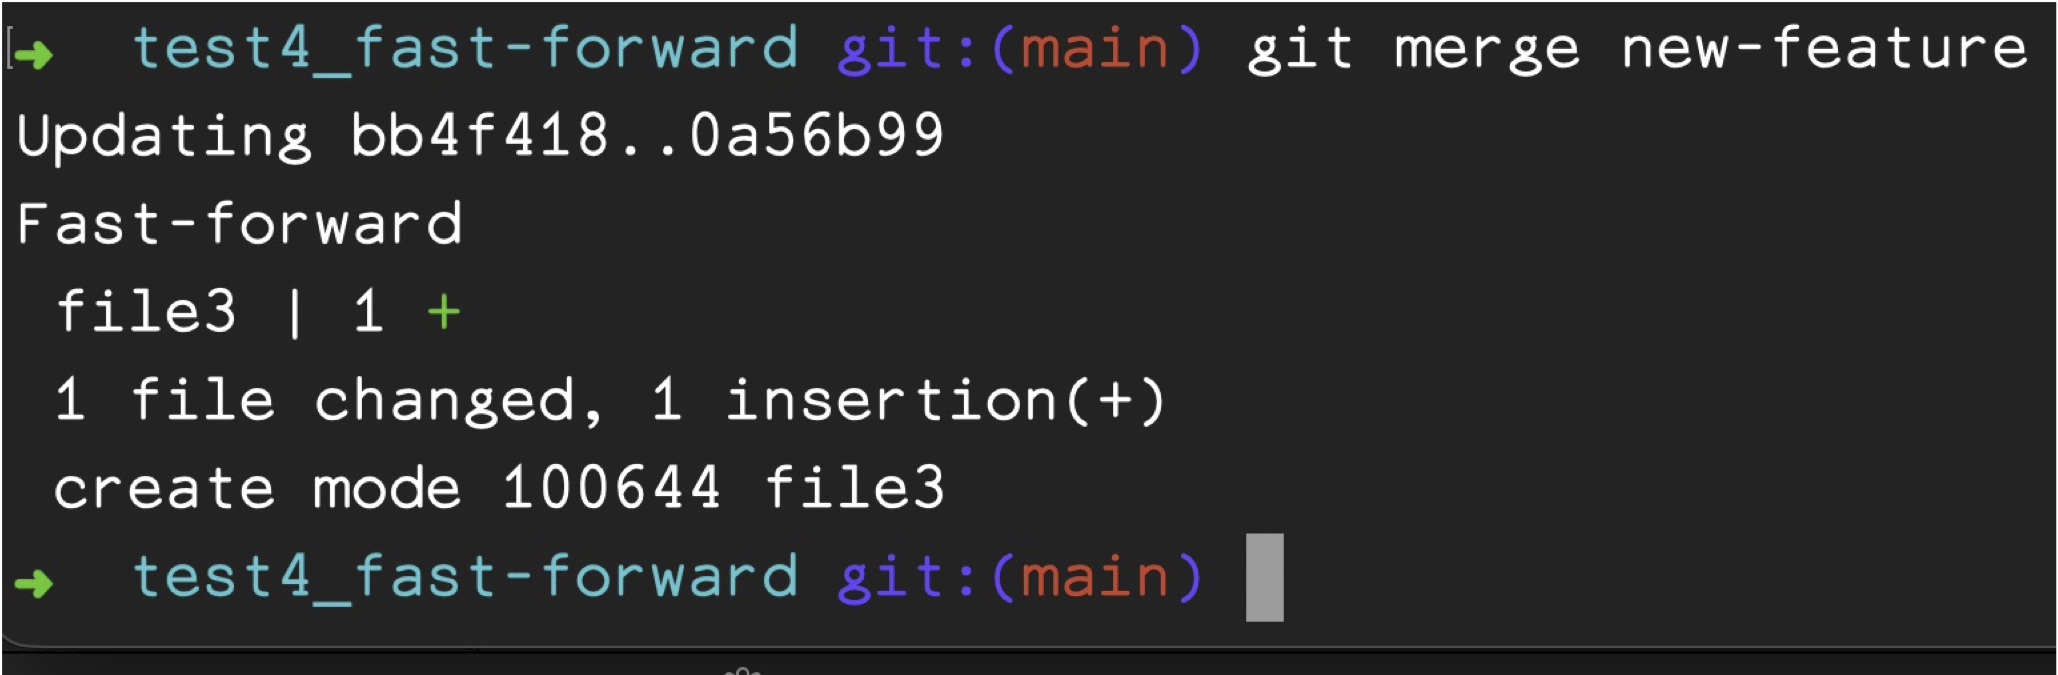
  • Go to the target branch you want to merge into (often main)
  • git merge branch-name

Merging branches: 2

  • When work on your branch is ready: time to merge!
  • Go to the target branch you want to merge into (often main)
  • git merge branch-name

Merging branches: 3

Exercise 2: merging branches

  1. You should be in the new branch you created for exercise 1
  2. Create a new file with a bit of text in it
  3. Commit that file
  4. Switch back to main
  5. Merge your new branch into main

Merge conflicts

  • When both branches have conflicting changes in the same file
  • Git won’t know which version to choose
  • It needs your help!
  • How to avoid? No… minimise! (You are bound to run into them…)
    • Have a clear workflow! (See section on remote repositories)

Exercise 3: merge conflicts

  1. In your main branch open your text file from exercise 2
  2. Add a line at the bottom saying “How long til the break?”
  3. Commit this change
  4. Switch to your existing other branch (this should still have the original text only)
  5. Add a line at the bottom saying “My brain hurts, I need coffee…”
  6. Commit this change
  7. Switch to main
  8. Merge the ‘new’ branch into main
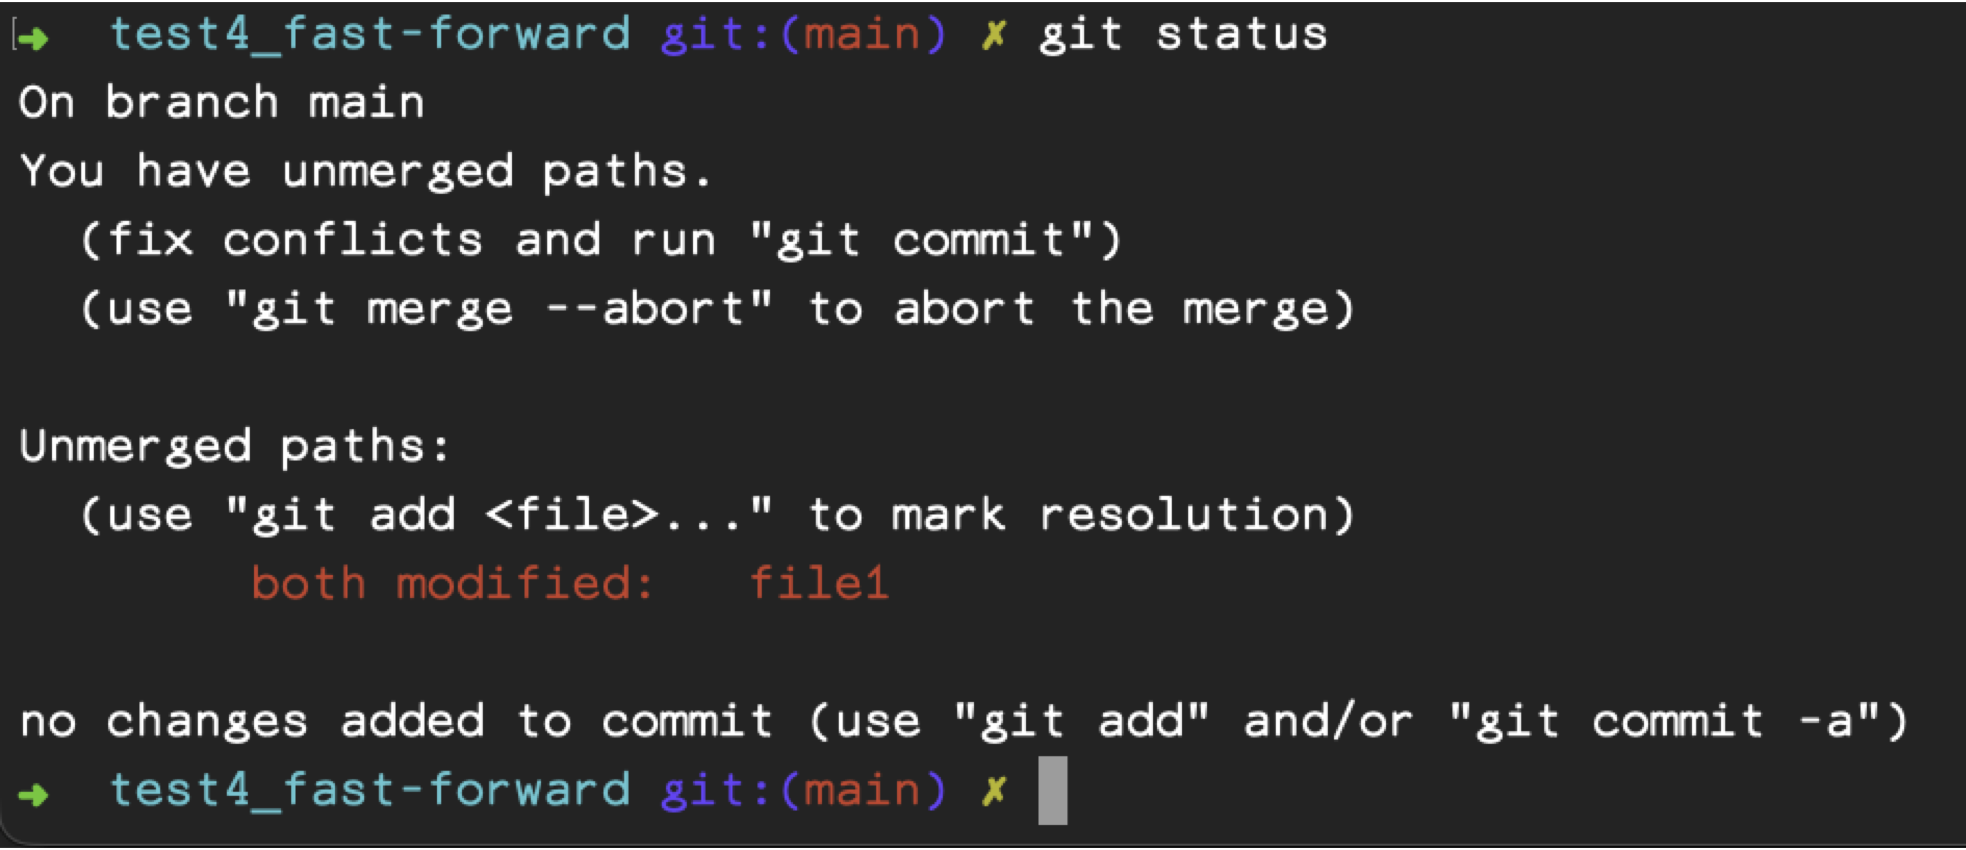
  9. Huzzah! Merge conflict!

Fixing merge conflicts: 1

  • How to fix?
    • Git does help you!
    • Fix conflicts and git commit!

Fixing merge conflicts: 2

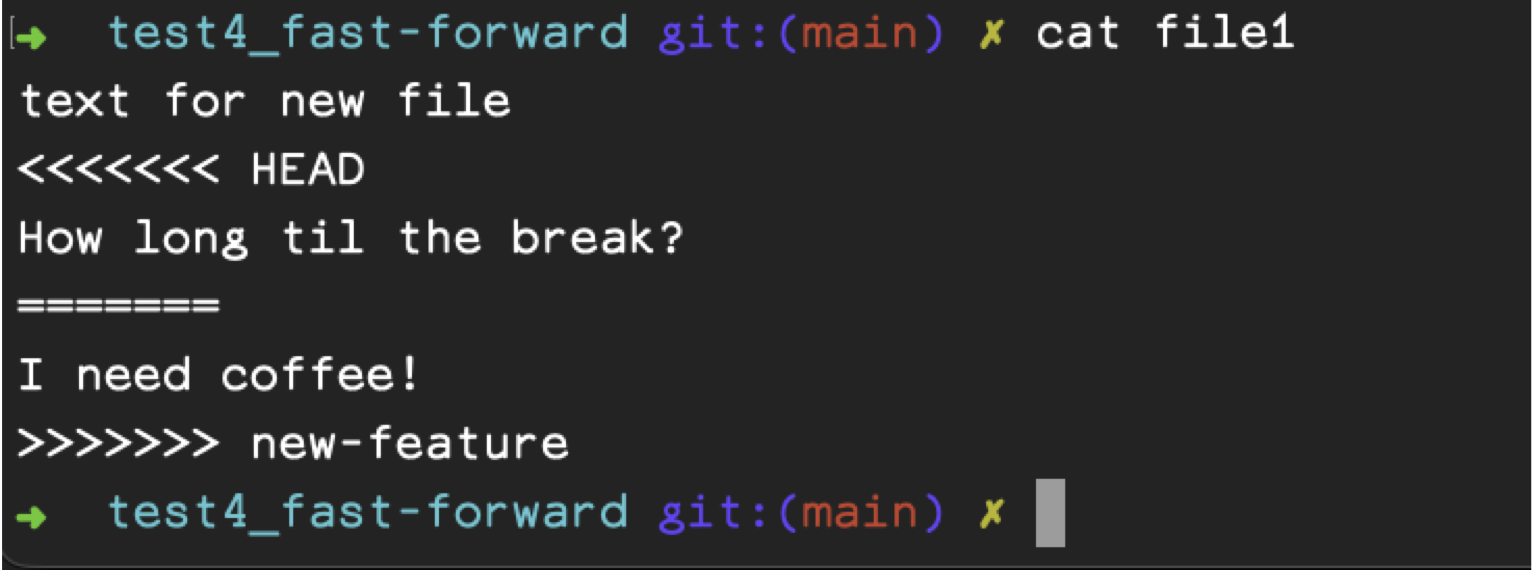
<<<<<<< HEAD your current branch’s version
======= marks where the version from the other branch starts
>>>>>>> new-feature is the end of the version from the other branch (new-feature will be the name of your specific branch)

Fixing merge conflicts: 3

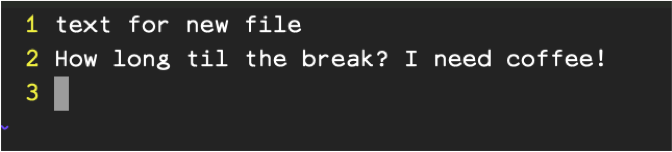
  1. Edit the conflicted file
  2. Add it to the staging area
  3. Commit it to resolve the conflict
  4. Rejoice!

Exercise 4

  1. Go to the merge conflict from exercise 3
  2. Resolve it 😎

Remote repos

What and which? 1

  • Is a:
    • Code hosting service
    • Collaborative software development environment
  • Basically:
    • Hosts your code
    • Allows you to share it (or not)
    • Allows to work on it with others

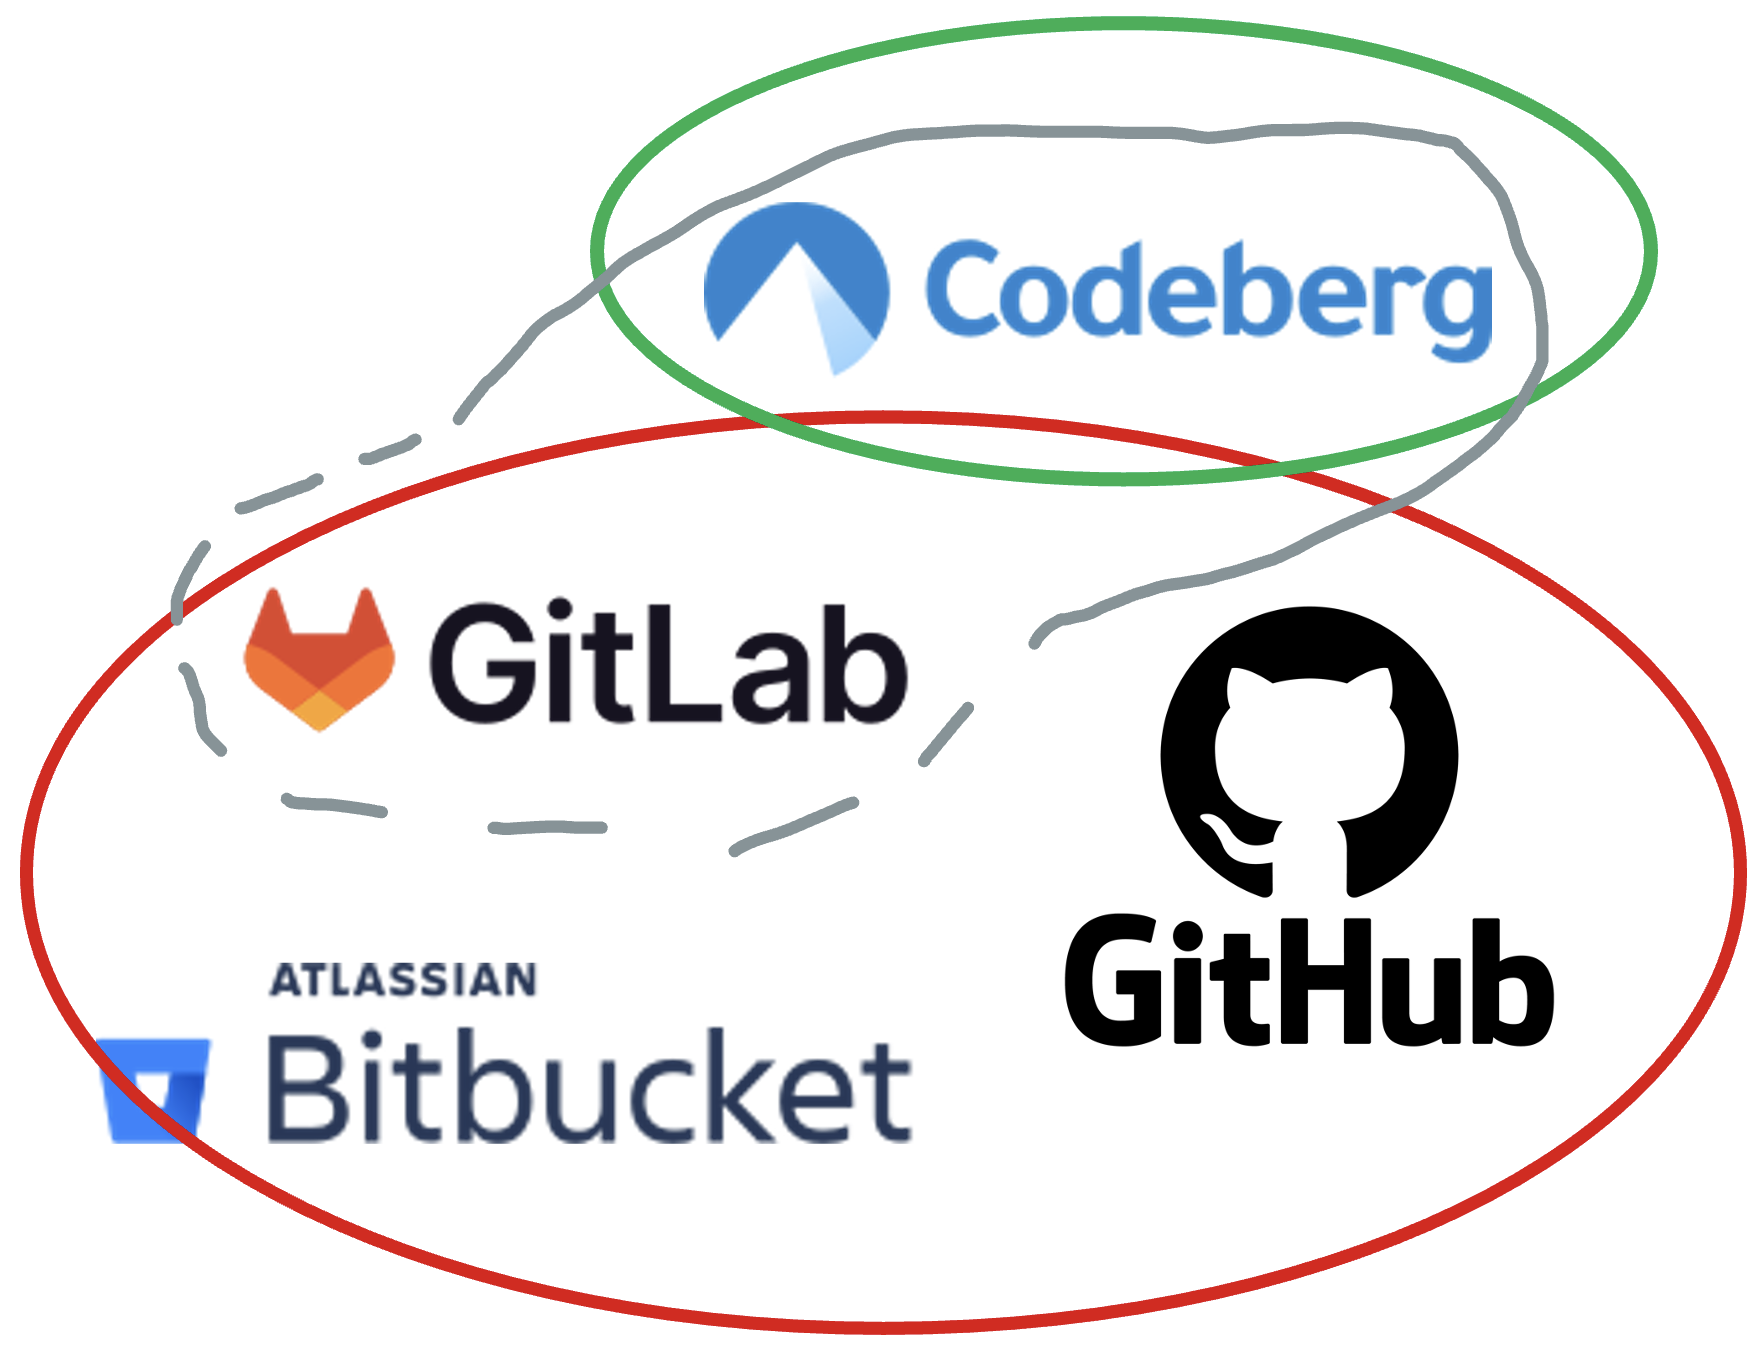
What and which? 2

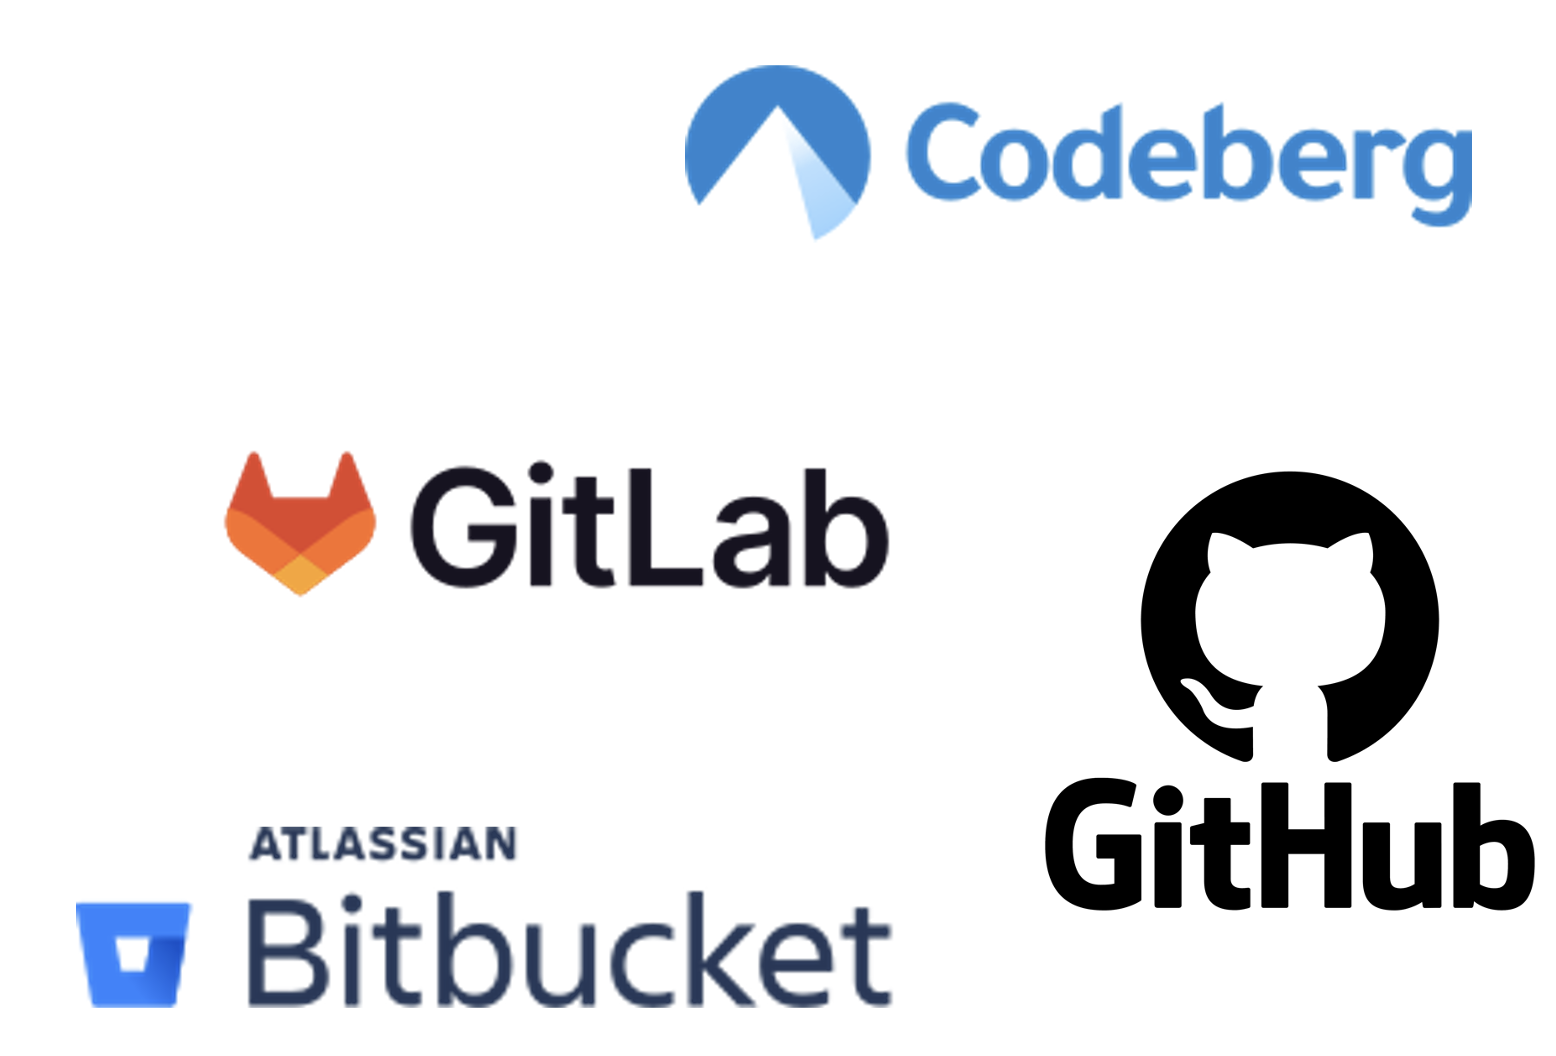
Non-profit (in EU)

Privately owned (in US)

Open source

Note: only self-hosted GitLab is Open Source!


  • At the moment (2026-08-19) the privately owned solutions are more feature rich.
  • For most applications, Codeberg should be sufficient!
SSH key pairs

Follow these steps

It is not required, but it makes life easier. And safer.

Creating a repo

Accessing a repo

  • Public repo
    • Everyone can see it
    • All Codeberg users can contribute through issues and pull requests
  • Private repo
    • Only your collaborators and members of your organisation can access it
      • Read/write/admin rights depend on permissions

Collaborators and permission levels

  • Collaborators can be added to a repository via a project’s settings
    • These can be granted the following permission levels
      • Read
      • Write
      • Administrator
  • To see what these permission levels entail, see here.

Cloning a repo

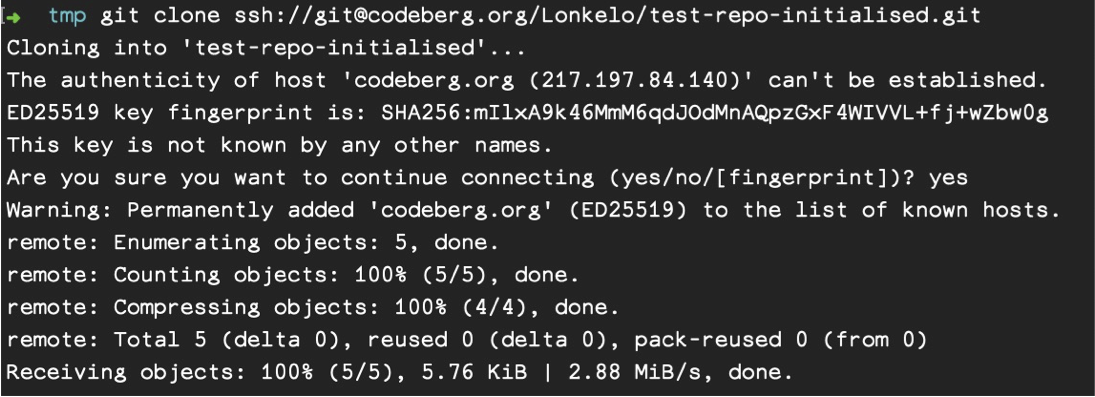
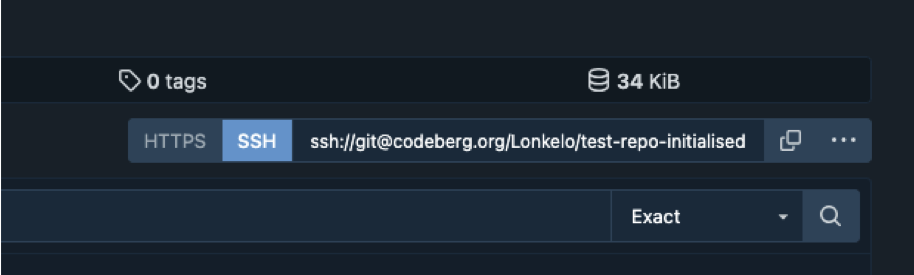
  • You can clone a repo you have access to: git clone ssh://git@codeberg.org/UsernameOrOrganisation/repo-name
Exercise 5: forking and cloning a repo

  1. Your trainer will divide you into teams
  2. Each team will go to this repo
  3. One person on each team will fork the repo (try and figure this out)
  4. Add you other team members as collaborators with ‘write’ access rights.
  5. Each team member clones the repo to their machine
  6. Each team member changes directory to the cloned repo folder and runs git remote -v to check the URL

Pulling and pushing changes

  • git pull pulls the latest changes from remote repo and merges them into local branch
  • git push -u origin branchname uploads local commits explicitly to remote repo branch of name ‘branchname’
    • git push is shorter and uses your repo’s defaults.
      • Note that if this fails, git will normally inform you of what you should do.

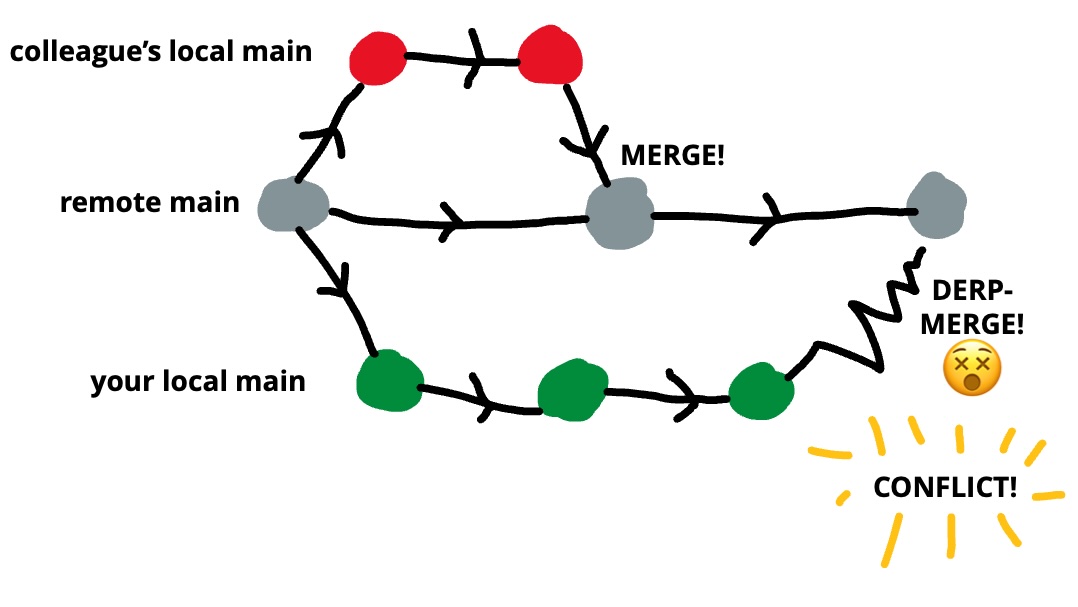
Merge conflicts

WATCH OUT!

  • Your local branch may differ from the remote branch!
  • Before pushing or pulling, make sure you have no changes that could clash with the remote

Resolving merge conflicts

  • The hard way:
    1. Roll back your local changes (git reset, git stash, etc.)
    2. Bring local branch up-to-date with remote (git pull)
    3. Apply original changes
    4. Try again
  • The better way: avoid them with a proper workflow!

A proper workflow

  1. Create a branch for your changes, e.g. git switch -c new-branch-name
  2. Switch to main branch, where you branched off
  3. Pull changes from remote
  4. Switch to new-branch-name
  5. Merge main into new-branch-name
  6. Push (git push -u origin new-branch-name)
  7. Go to the online repository interface and create a pull request!

Creating a pull request: 1

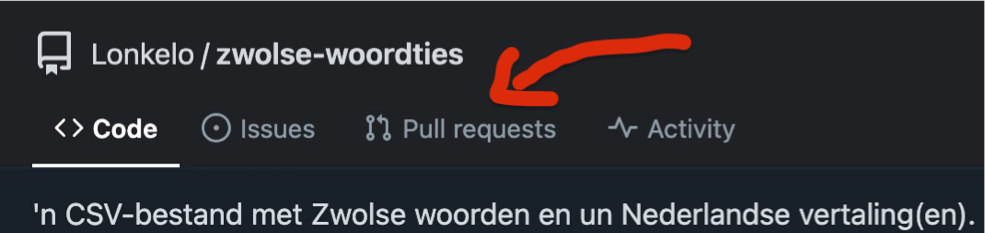
  1. Go to Pull requests tab
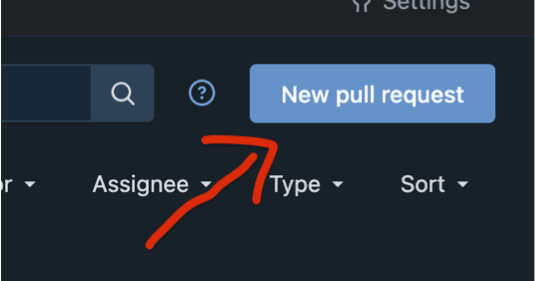
  2. Top-right on repo page on Codeberg, click New pull request
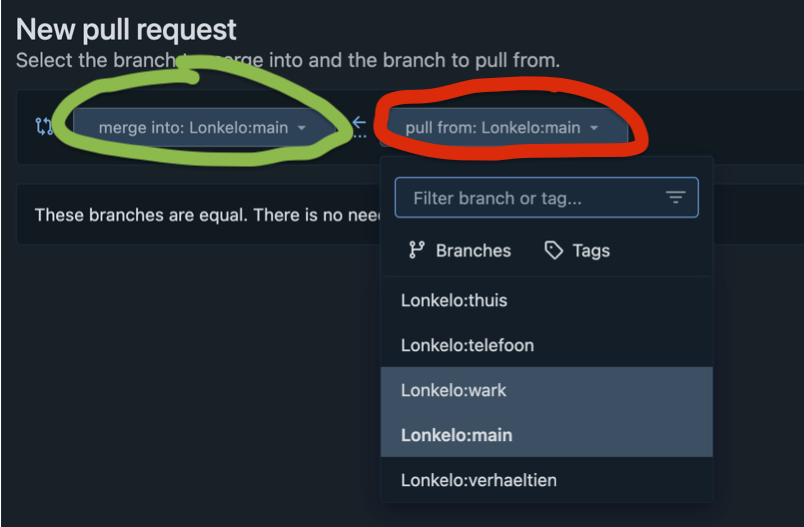
  3. Select the target branch (left) and new branch (right)
Creating a pull request: 2

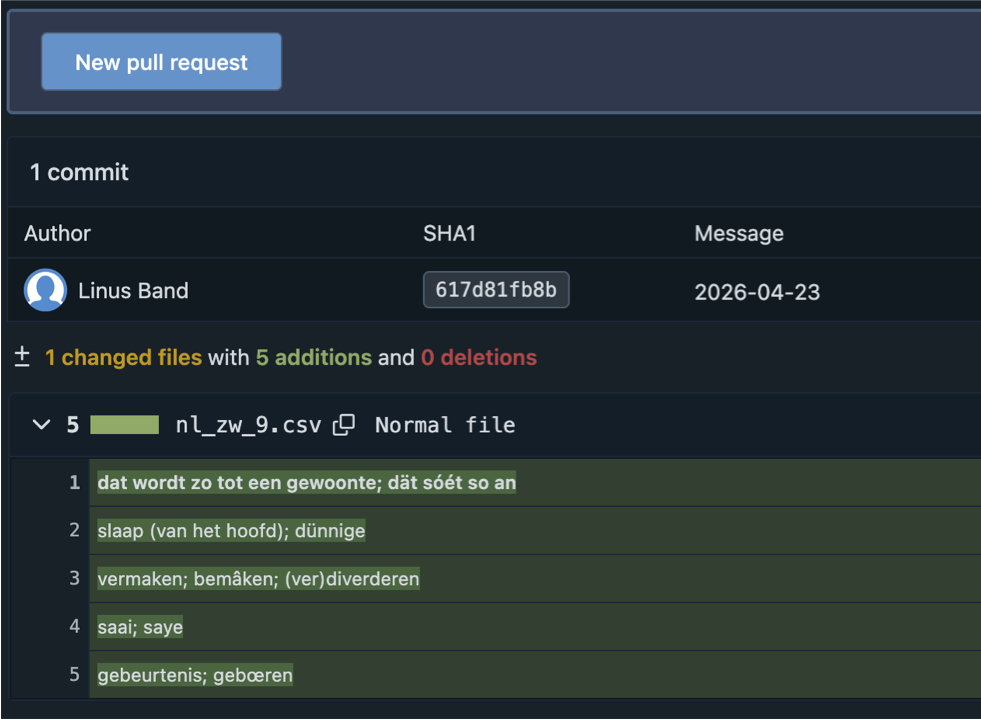
  1. Check your changes:
    1. Additions in green
    2. Removals in red
  2. Good? Click New pull request!
  3. In next screen:
    1. Add optional comments for others
    2. Assign reviewers (and/or labels and milestones)
Reviewing a pull request

  1. Any assigned reviewers check code:
    1. The proposed changes make sense
    2. The proposed changes work
  2. They approve the pull request (or not!)
  3. Merge pull request by clicking Create merge commit
  4. Optionally add message
  5. Click Create merge commit button!
  6. Your target branch has been updated remotely!
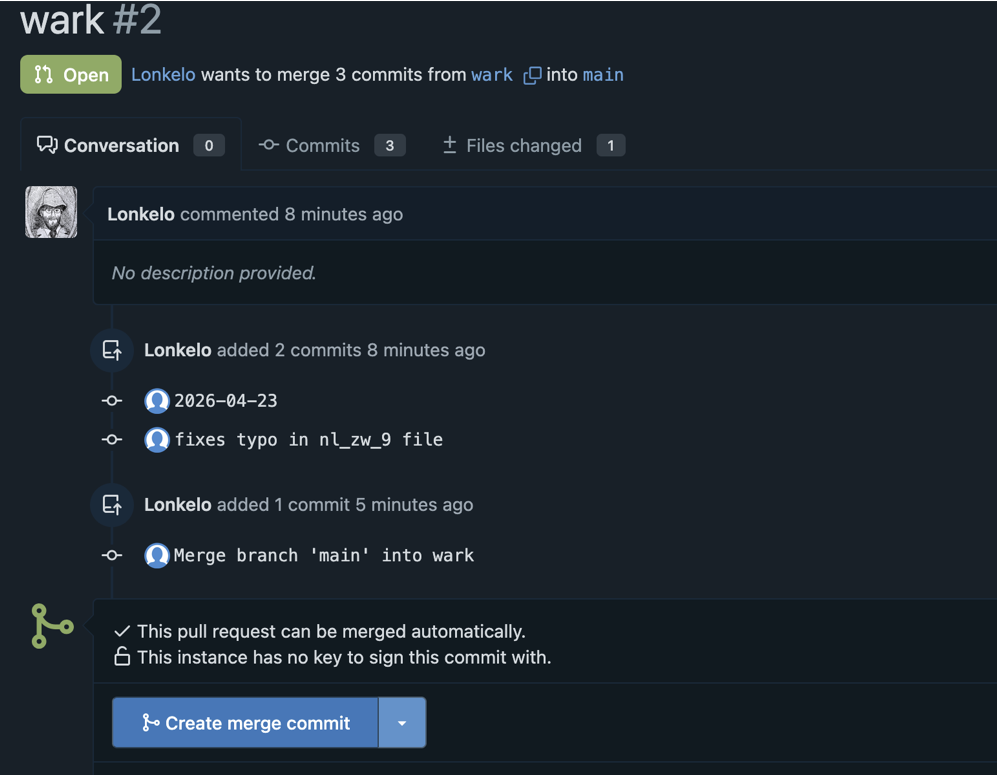
Note: make sure you pull the branch you merged into locally before continuing with new changes. Also clean up any branches you are done with.

Exercise 6: creating a pull request

The steps below indicate steps for different group members. Do try to follow these steps together: one person does the step, the other(s) watch and comment.

  1. Person 1 in your group creates a new branch
  2. Person 1 makes an addition to the Radboud.md file (add some trivia or any kind of nonsense you wish 🙂)
  3. Person 1 pushes the changes to remote and creates a pull request
  4. Add the other(s) in your group as reviewer(s)
  5. Person 2 (and person 3 if present) check the pull request and approve it if they agree
  6. Decide who gets to merge it: merge it!

Exercise 7: time left, let’s break things

  1. Everyone in your group creates a new branch
  2. Everyone makes an addition to the Radboud.md file (more trivia! More nonsense!)
  3. Person 2 pushes the changes to remote and creates a pull request
    • (Add the others in your group as reviewers!)
  4. Person 1 (and person 3 if present) check the pull request and approve it if they agree
  5. Decide who gets to merge it: merge it!
  6. The others are now free to push their changes and create a pull request (careful now!)
  7. Possible outcomes:
    1. Merge conflicts? Excellent practice opportunity!
    2. No hiccups. A bit boring, but well done ;P

The Mighty IDE!

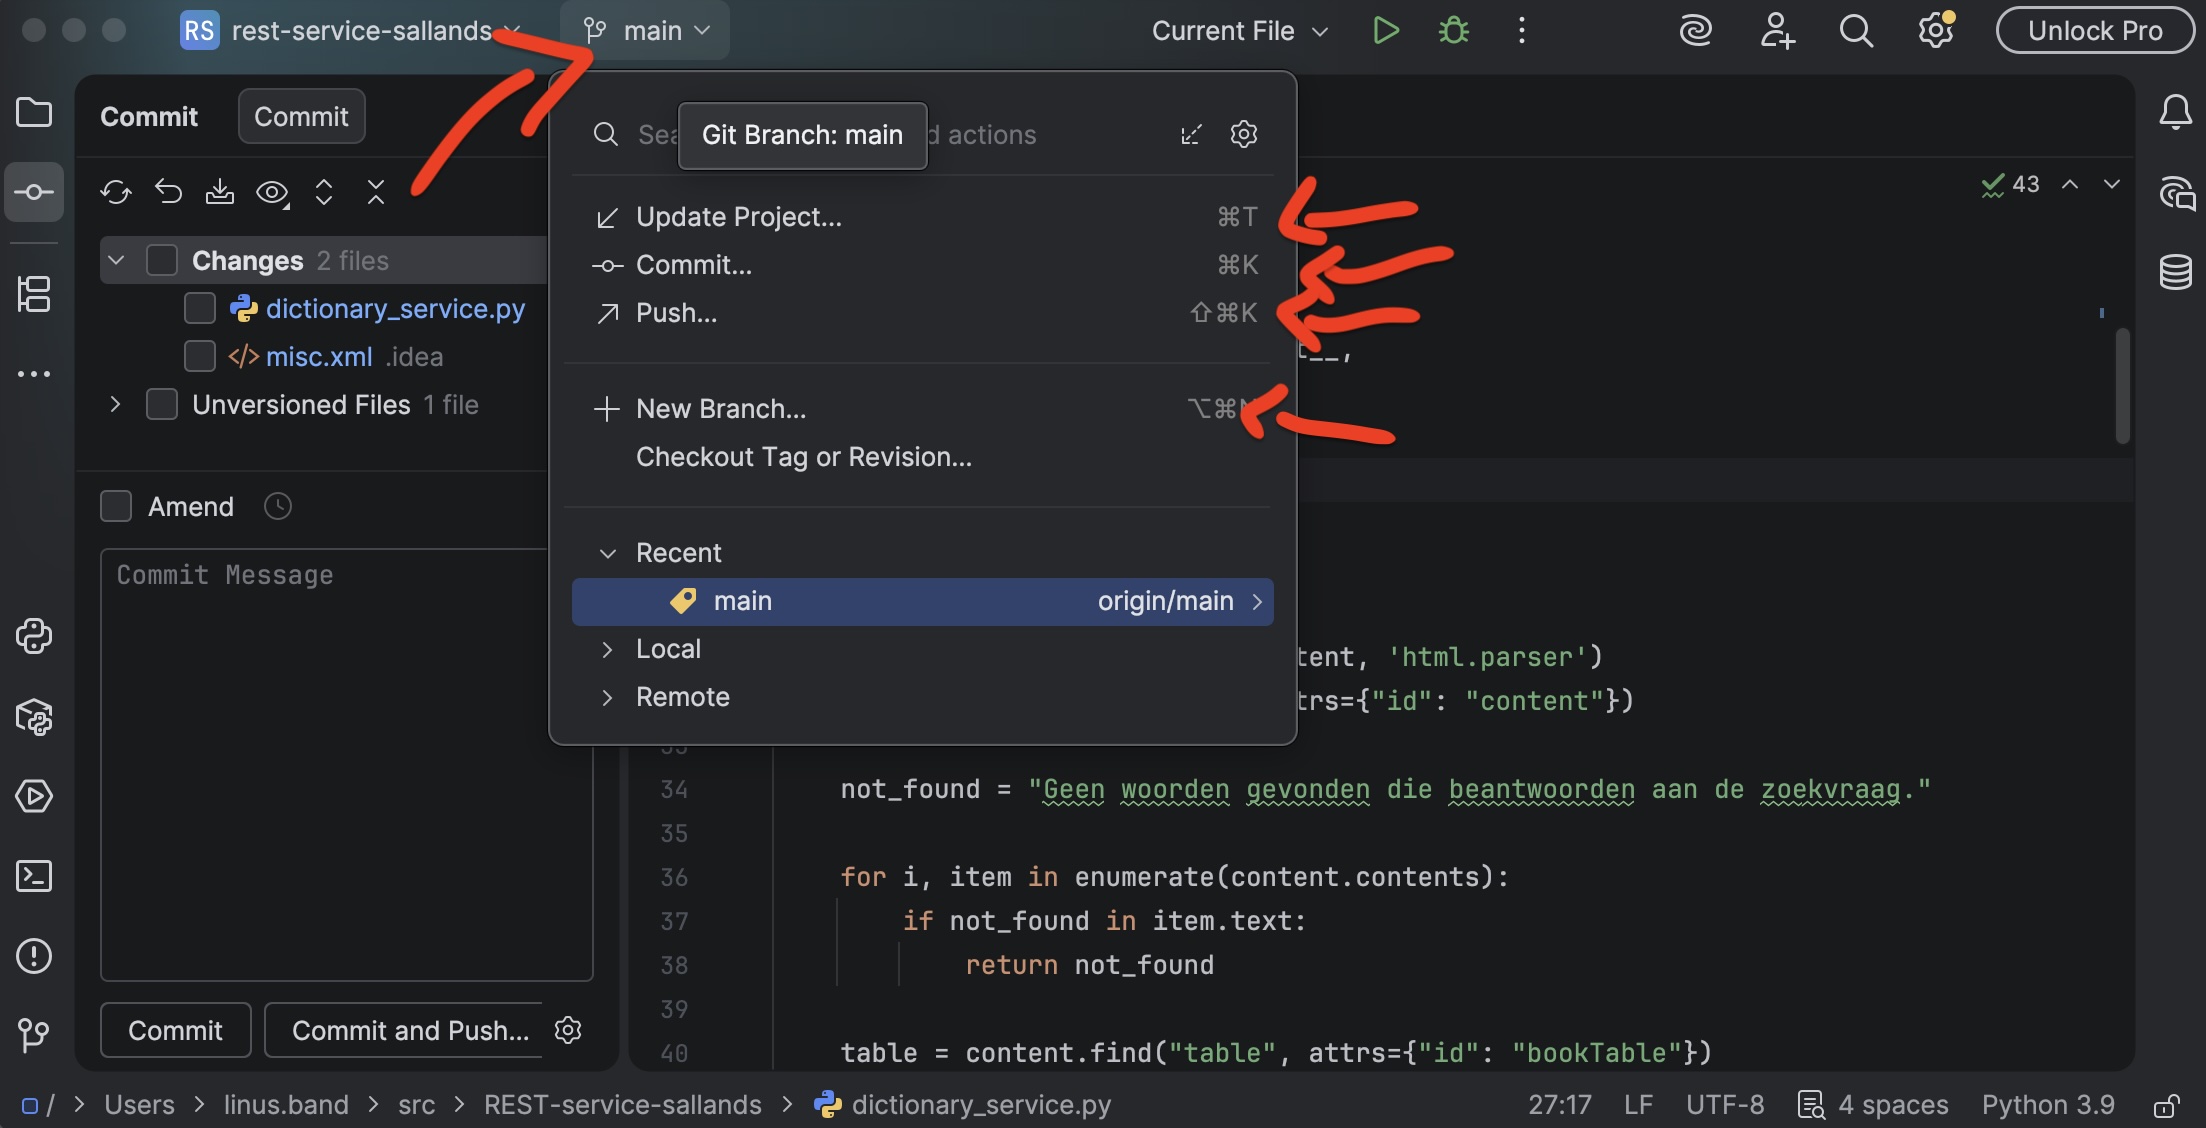
PyStorm

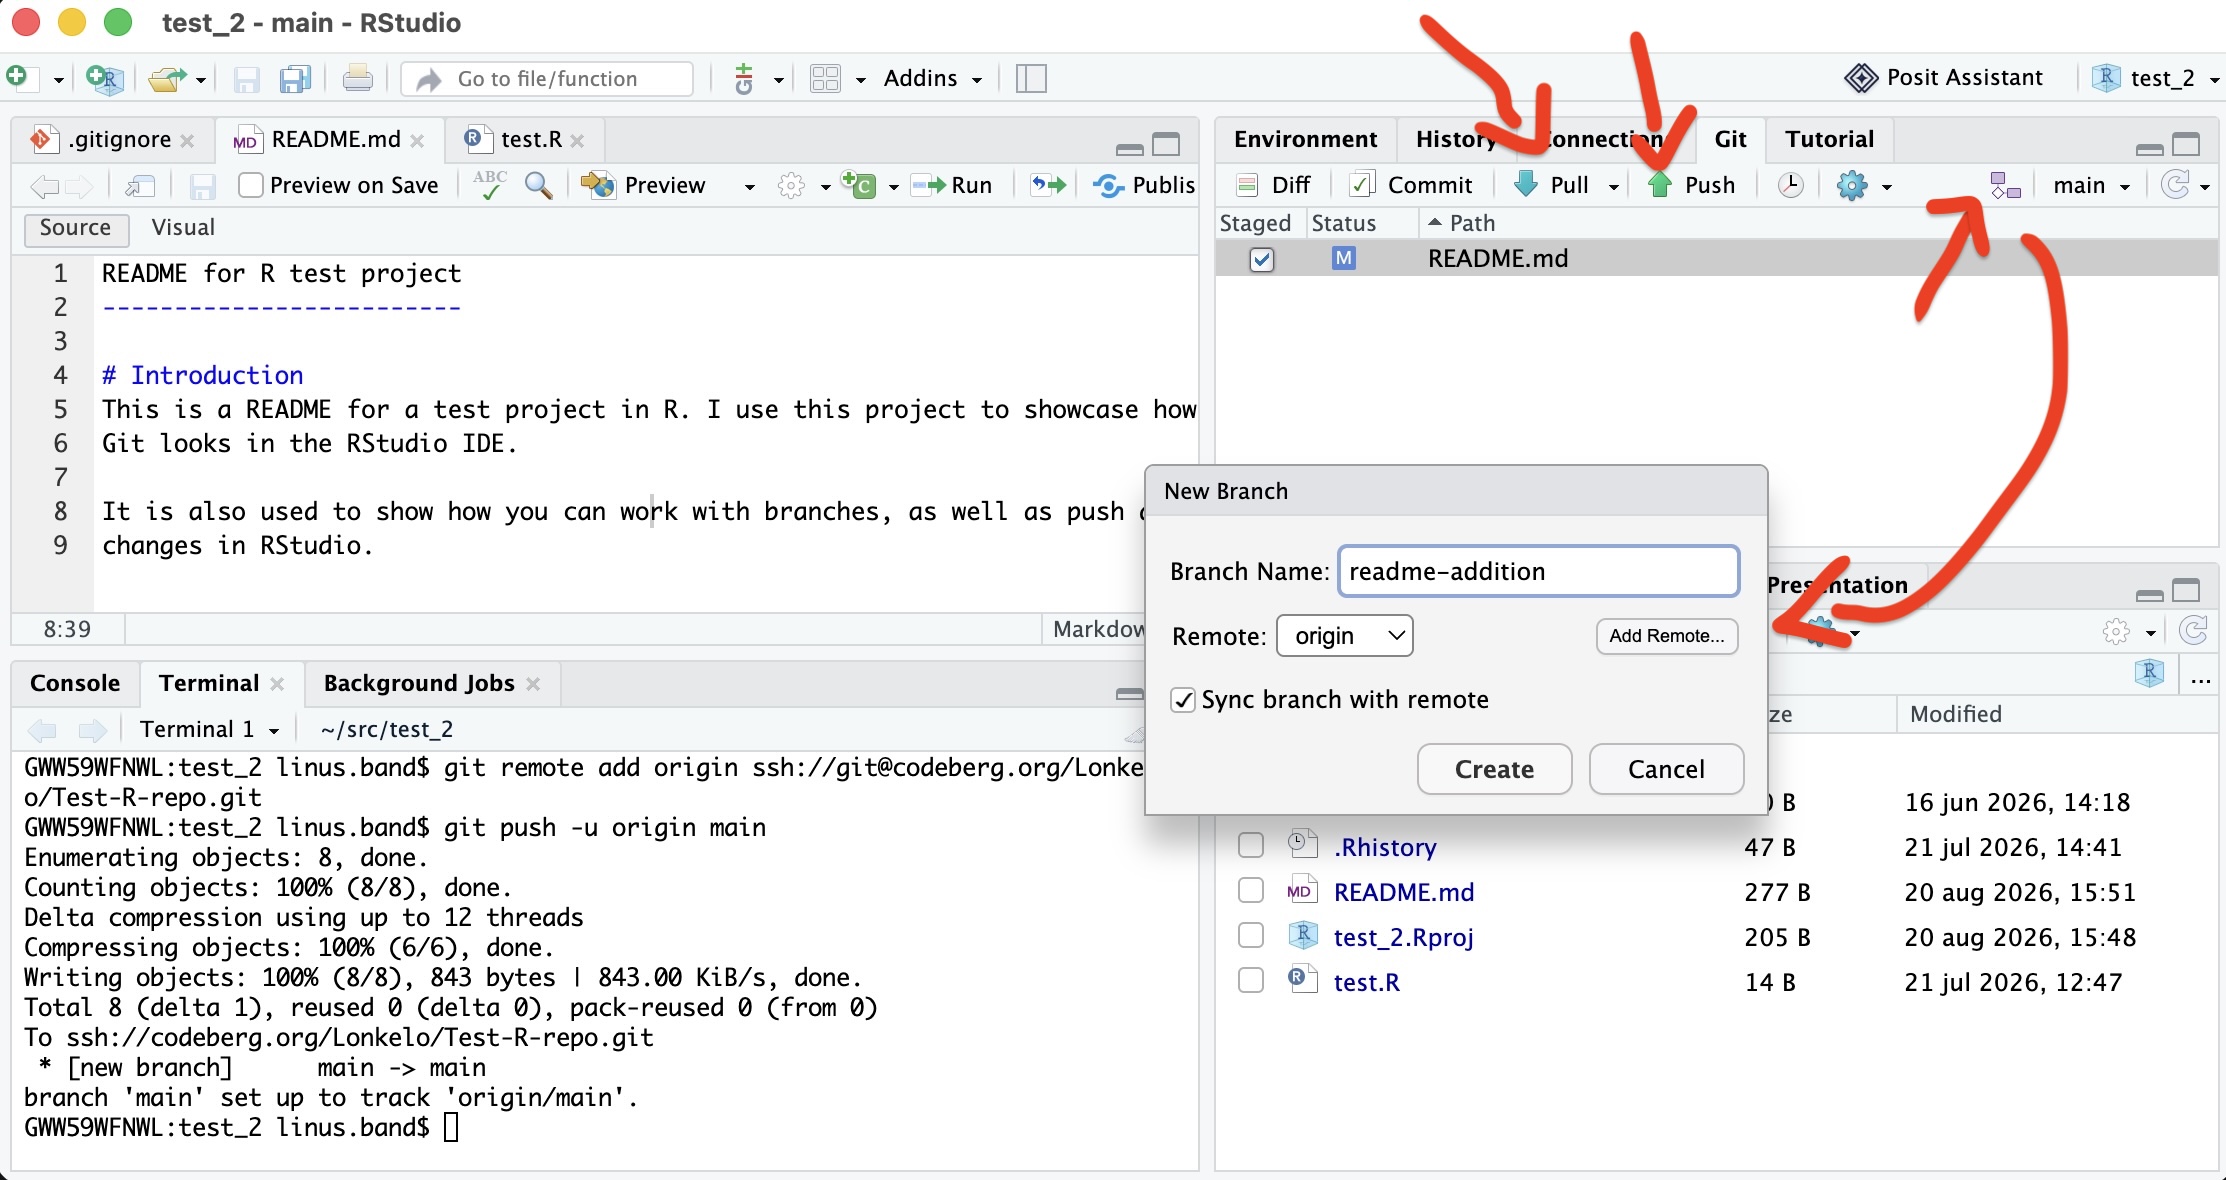
RStudio

Evaluation

  • Please fill out the course evaluation
  • Takes ± 2 minutes!

You got even Wiser!